Thinking about listing your Indian Trail home and want it to shine from day one? You’re not alone. Preparing a house to sell can feel overwhelming, especially when you are juggling work, family, and a timeline. This guide gives you a clear, room-by-room staging checklist, photography tips that boost online appeal, and a contractor-ready punch list tailored to Union County. You’ll also see how a vetted local vendor network can help you move faster with less stress. Let’s dive in.
Why staging matters in Indian Trail
Buyers in Indian Trail often look for move-in readiness, flexible spaces like home offices, usable outdoor living, and practical storage. With most homes in planned subdivisions and many buyers commuting to Charlotte, first impressions in listing photos and at showings matter. Staging helps reduce perceived maintenance, highlights function and flow, and makes your home feel bright, spacious, and easy to live in.
Local climate plays a role too. Hot, humid summers make ventilation and moisture control important. Mild winters let you spotlight cozy features like a fireplace. Year-round, keep an eye on signs of pests or mildew so buyers see a well-cared-for property.
Your staging timeline
- 3–6 weeks before listing: Gather quotes from vendors, plan repairs, and map your timeline.
- 2–4 weeks before listing: Deep clean, declutter, complete repairs, and spruce up landscaping.
- 1–2 weeks before listing: Final paint touch-ups, light styling, and schedule professional photos.
- Day of listing or open house: Quick tidy, open blinds, turn on all lights, add fresh flowers.
Whole-home prep essentials
- Declutter to about half of what you currently have. Pack away personal photos, memorabilia, and extra furniture.
- Deep clean top to bottom, including carpets, grout, windows, and HVAC vents.
- Neutralize bold paint colors where needed. Use eggshell on walls and semi-gloss on trim for a clean look.
- Match bulb color temperature throughout. Aim for 2700–3000K in living areas and up to 4000K for task lighting.
- Confirm working smoke and CO detectors and replace dead batteries.
Quick tip: Keep a single donation box and a single “pack now” box in each room. It speeds decisions and keeps you moving.
Room-by-room checklist
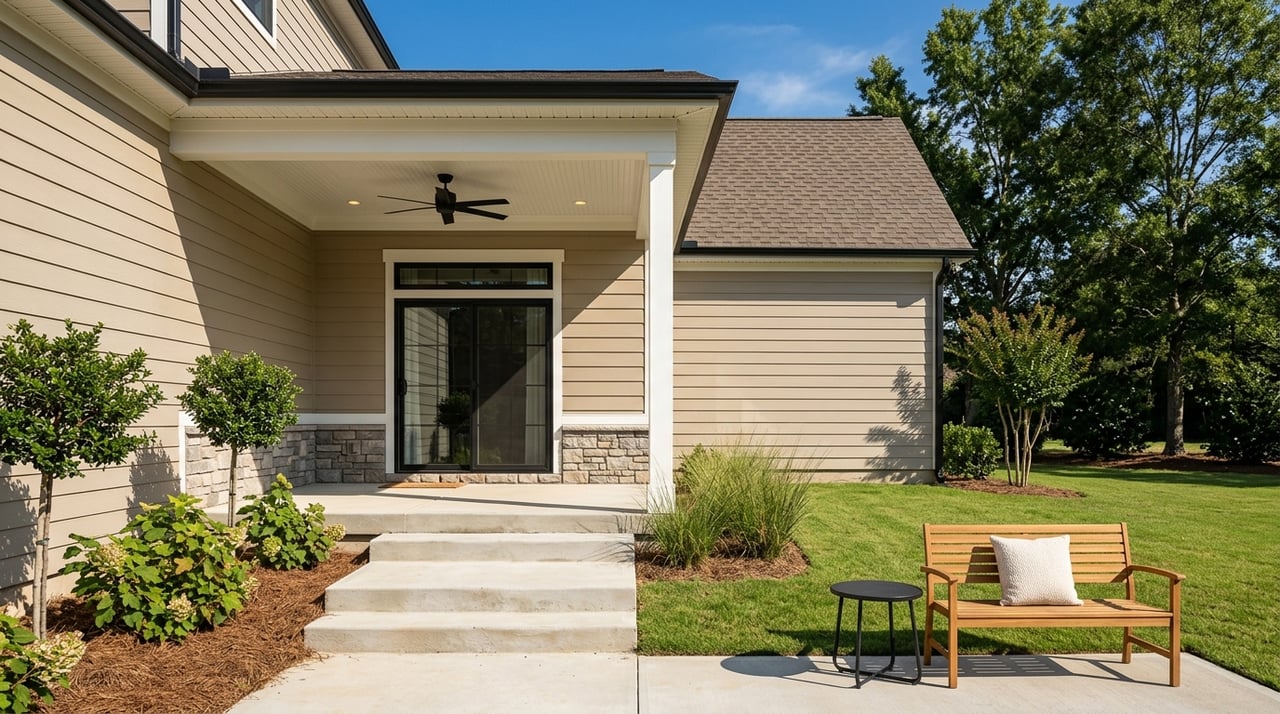
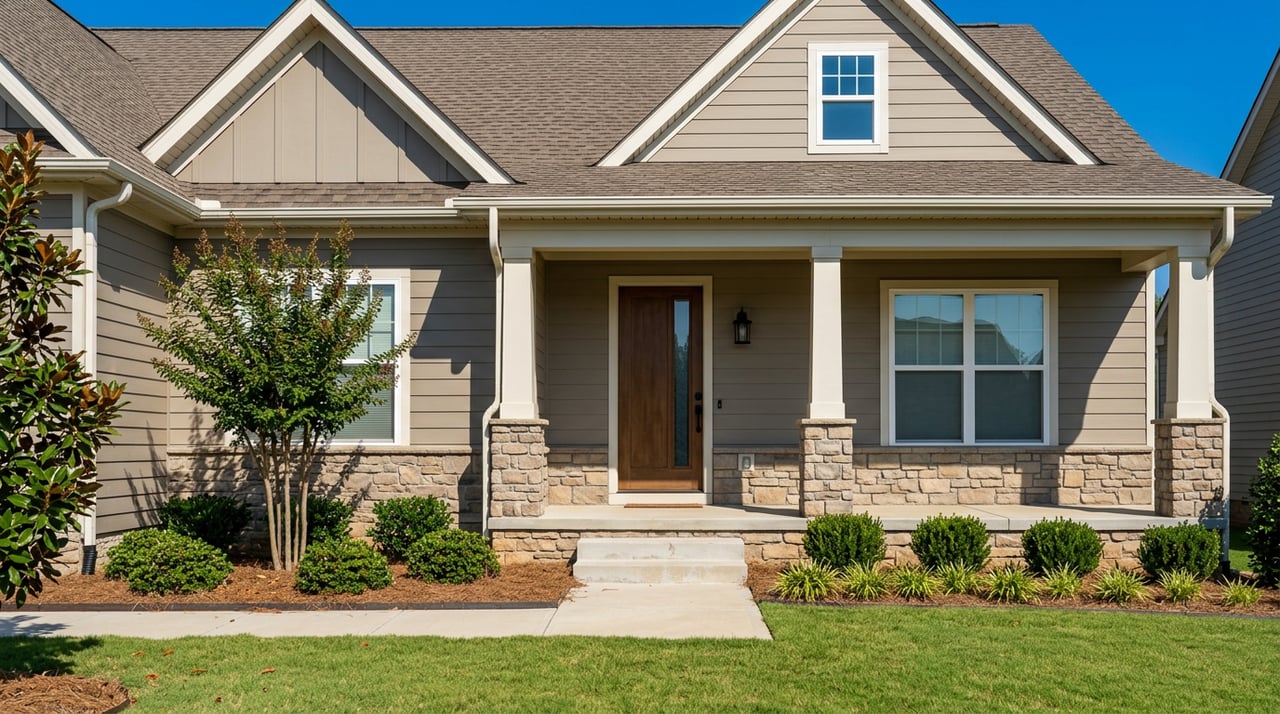
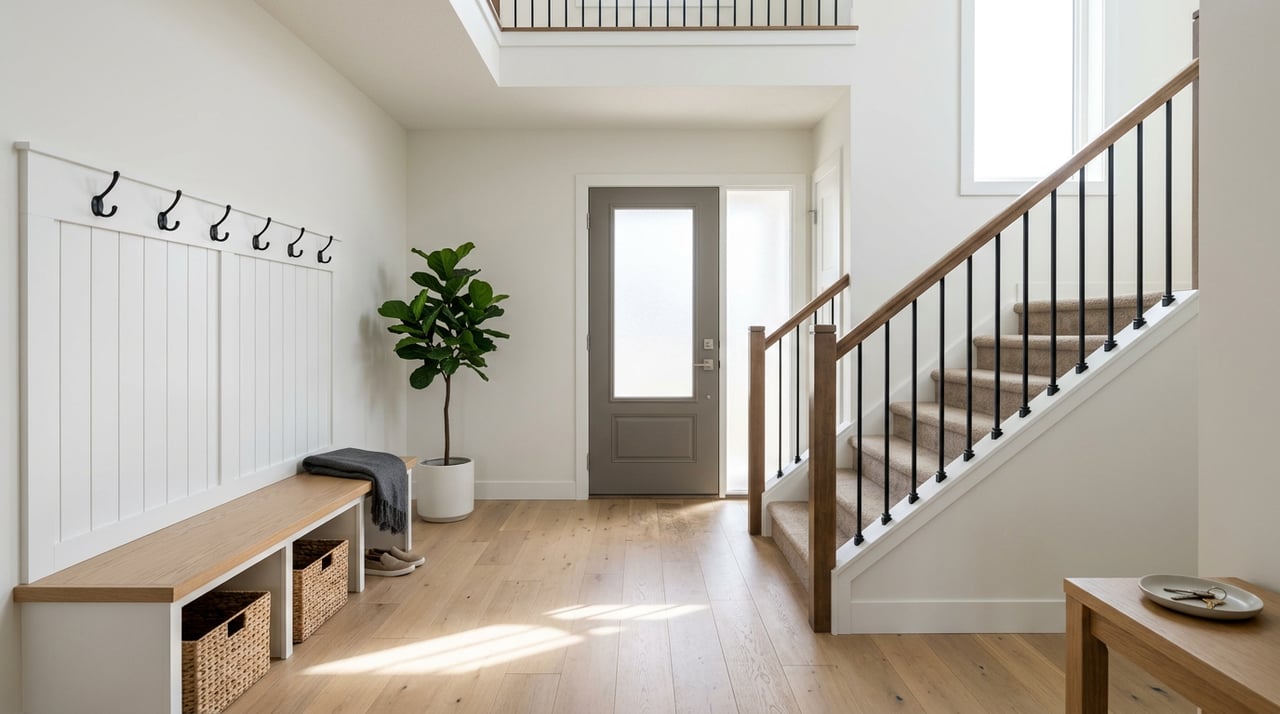
Entry and curb appeal
- Clear shoes, bags, and mail. Add a small bench or console with a mirror.
- Power wash the porch and steps. Replace burned-out exterior bulbs.
- Freshen landscaping, trim hedges, and edge the lawn. A clean entry sets the tone.
Living room or great room
- Arrange furniture to show natural flow and a clear focal point like a fireplace or view.
- Remove oversized pieces. Use one rug to anchor the seating area.
- Hide cords and keep the TV off or set to neutral art.
- Add layered lighting with table and floor lamps.
Dining room
- Keep the table set simply with a few pieces. Avoid cluttering place settings.
- Ensure the scale of the room matches your furniture. Leave space to walk around the table.
- If the dining area is open to the kitchen, aim for a balanced visual flow.
Kitchen
- Clear countertops to a few quality items like a fruit bowl or coffee maker.
- Shine appliances and replace missing knobs or worn handles.
- Re-caulk where needed and touch up scuffs.
- Organize pantry shelves and tidy cabinet interiors that may be photographed.
Primary bedroom
- Use neutral, well-fitted bedding and minimal decor for a restful feel.
- Remove extra furniture to emphasize space.
- Stage closets at about 25–30 percent capacity to show storage.
- Keep bedside tables balanced and hide visible cords.
Secondary bedrooms and office
- Show versatility. Stage one as a home office, guest room, or nursery based on likely buyers.
- In smaller rooms, use a single bed or a compact desk to maximize perceived space.
- Keep surfaces clear and lighting consistent.
Bathrooms
- Re-caulk tubs and showers. Replace stained grout where needed.
- Update visibly corroded fixtures like faucets or shower heads.
- Display fresh towels and basic toiletries neatly. Remove personal items.
Laundry and mudroom
- Clear counters and store detergents in bins.
- Clean washer and dryer doors and gaskets.
- Keep the floor free of baskets and shoes.
Basement, bonus, and attic
- Remove cobwebs and storage overflow. Show finished areas as usable living space.
- Address any moisture signs. Keep documentation of waterproofing handy.
- Add neutral rugs and simple seating to define a bonus space.
Garage
- Declutter and sweep. Remove oil stains if possible.
- If space is tight, park one car to demonstrate fit.
- Consider painting or sealing the floor if it is very worn.
Outdoor living spaces
- Pressure wash decks and patios. Stage a small seating area and a grill zone.
- Remove pool toys, hoses, and visible tools. Empty trash cans.
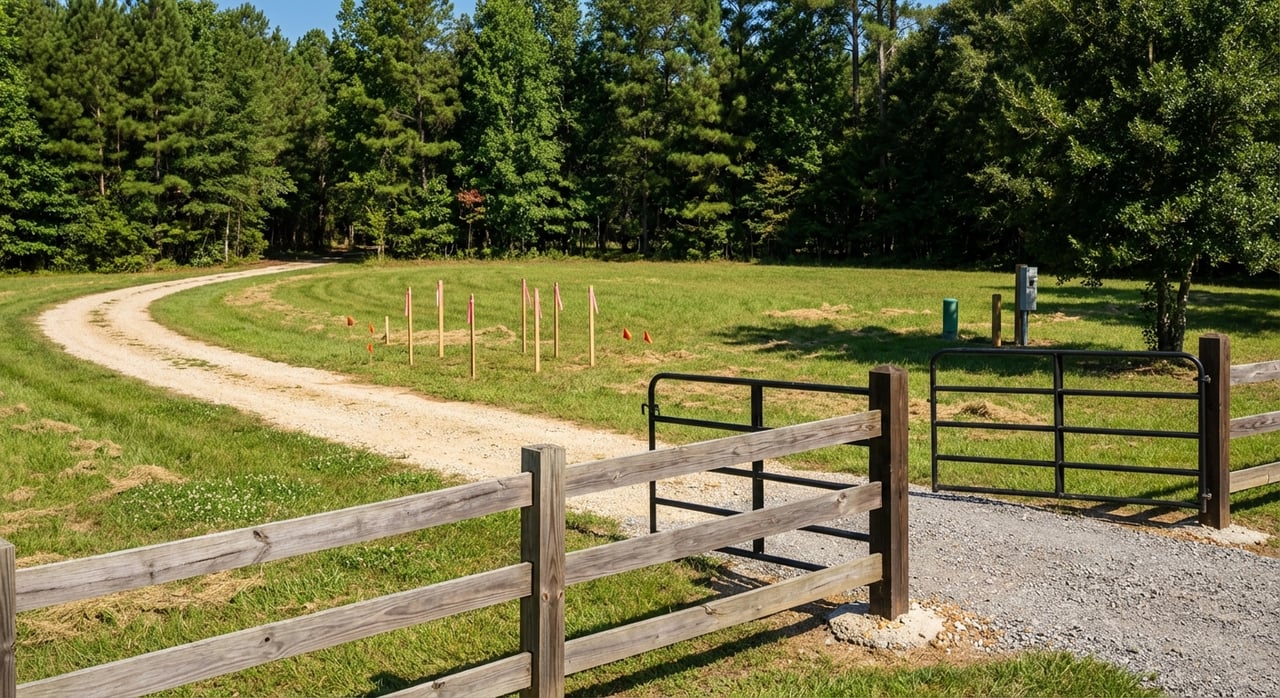
- Emphasize privacy features like fencing or mature trees.
- In summer, showcase shade and airflow. In cooler months, highlight sunlight and sheltered seating.
Indian Trail note: Many local buyers love porches and decks. Make these areas feel like true outdoor rooms.
Photo-ready listing tips
Online discovery is often the first showing. Use these steps to make your photos work harder.
Pre-photo checklist
- Remove dishes, laundry, and small trash cans.
- Open blinds and curtains for even light. Turn on all lights.
- Hide cords, pet items, and children’s toys.
- Pull small rugs that break up floor lines. Make all beds hotel-tight.
Timing and light
- Shoot interiors late morning to early afternoon for bright but indirect light.
- Capture exteriors during early morning or late afternoon for warm, even light.
- Overcast days can be ideal for exteriors to minimize harsh shadows.
Professional vs DIY photos
- A local real estate photographer with HDR capability can manage wide angles, exposure blending, and consistent color.
- If DIY, use a mid-range wide-angle lens, a tripod, and bracketed exposures. Keep vertical lines straight.
- Consider a 3D tour for remote buyers.
Shot list that sells
- Front exterior: straight-on and angled.
- Entry and main living areas from multiple corners.
- Kitchen with a view of the island and work triangle.
- Primary bedroom and ensuite bath.
- Secondary bedrooms and baths.
- Backyard, deck, or patio.
- Garage and special features like a screened porch or finished basement.
- Neighborhood context as allowed and appropriate.
Virtual staging and editing
- Virtual staging can be cost effective, but follow local MLS disclosure rules.
- Basic edits for exposure and color balance are standard. Avoid edits that misrepresent size or condition.
Contractor-ready punch list
Use this section to scope and price work with confidence. Prioritize safety and function before cosmetics, then layer in value-add updates where they make sense.
Safety and function first
- Electrical: Replace worn switches or outlets, add GFCI protection in kitchens and baths, confirm all switches work, and label the panel.
- Plumbing: Fix leaks and running toilets, improve low water pressure, re-caulk showers and tubs, and replace deteriorated fixtures.
- HVAC: Service the system, replace filters, check thermostat operation, and address noisy ducts.
Paint and cosmetic updates
- Neutralize bold rooms with fresh paint. Use eggshell walls and semi-gloss trim.
- Touch up stair rails, baseboards, and cabinet faces where worn.
- Refresh the front door for instant curb appeal.
Floors and carpentry
- Repair squeaks or uneven boards. Deep clean or refinish hardwoods as needed.
- Replace torn or stained carpet in key spaces.
- Fix door hardware and ensure doors close smoothly.
Systems and appliances
- Service major appliances and replace non-working units or be prepared to disclose condition.
- Clean behind and beneath appliances for a tidy presentation.
Exterior and landscaping
- Patch missing shingles and clean gutters.
- Repair fascia, soffits, or siding damage. Touch up exterior paint.
- Power wash siding, driveway, and walkways.
- Prune shrubs blocking windows and repair irrigation if present.
Moisture, pest, and paperwork
- Treat visible mold or mildew and correct the source of moisture.
- Obtain termite inspection or treatment documentation when available.
- Keep invoices, warranties, and contractor receipts ready to share with buyers.
Permits and local compliance
- Minor cosmetic work rarely requires permits. Electrical panels, structural changes, major HVAC, or roof work may.
- If your property is in an HOA community, keep exterior finishes compliant and have rules available for buyers.
Leverage a vetted local network
Coordinating multiple vendors can slow you down. A vetted local network streamlines the process with:
- Local knowledge of Union County and Indian Trail standards, common moisture and pest concerns, and HOA expectations.
- Faster scheduling and reliable availability.
- Consistent pricing and clear scopes of work.
- Single-point coordination to cut miscommunication and delays.
- Standard before-and-after photos and invoices that support buyer confidence.
If you would rather not manage the details, a turnkey listing approach with professional staging, photography, and vendor coordination can lift the burden and elevate your result.
Make your move with The Real McCoy
You deserve practical, local guidance and a smooth path from prep to sold. If you want a trusted, hands-on approach to staging, photography, and vendor coordination tailored to Indian Trail, we are here to help. Start a conversation with McCoy Real Estate, Inc. and let’s map a simple plan that fits your timeline.
FAQs
How much should I spend on staging for an Indian Trail home?
- Prioritize safety and necessary repairs first, then invest in high-impact, low-cost updates like paint, decluttering, and landscaping. Balance cost against potential days-on-market saved and offer strength.
Do I need full professional staging or partial help?
- It depends on your home and target buyers. Empty or larger homes often benefit from full staging. Occupied homes typically shine with partial staging, decluttering, and light styling.
What should I do about pest or moisture concerns before listing?
- Address visible issues up front and correct the source. Keep termite inspection or treatment documentation and any waterproofing receipts to build buyer confidence.
When should I schedule contractors before I list?
- Start planning 3–6 weeks before your desired list date. Gather quotes early, then schedule work to finish at least a week before photography.
Are virtual staging photos allowed in our area?
- Virtual staging is common, but you should clearly disclose it per your MLS rules. Avoid edits that mislead on size or condition.